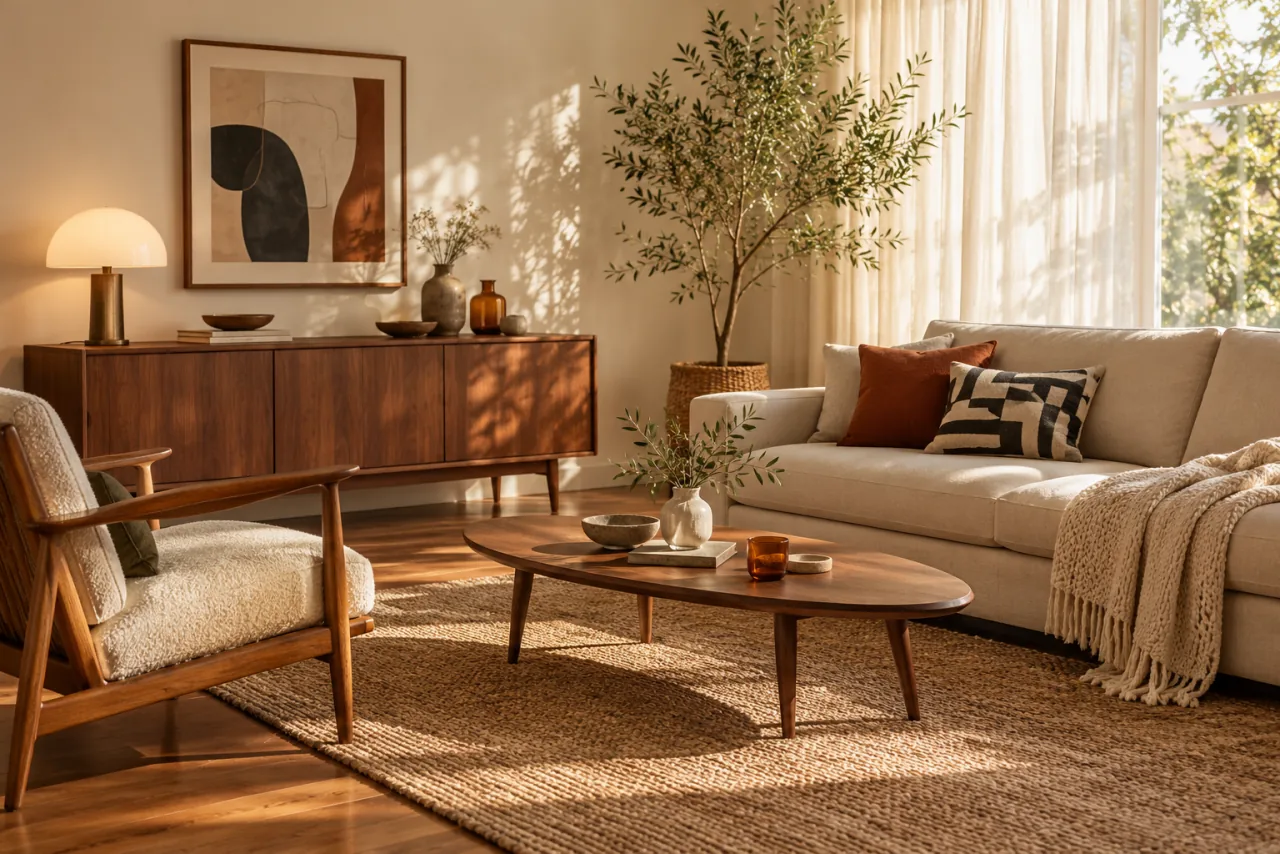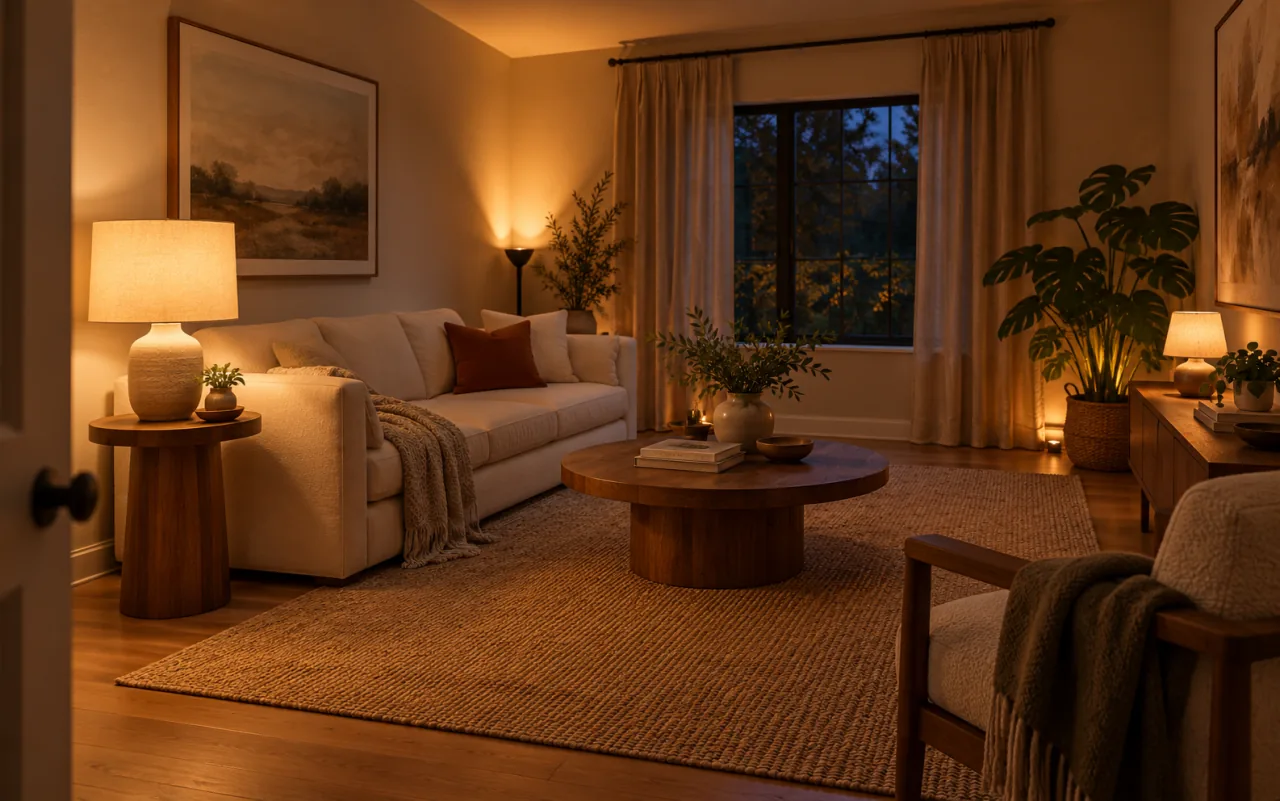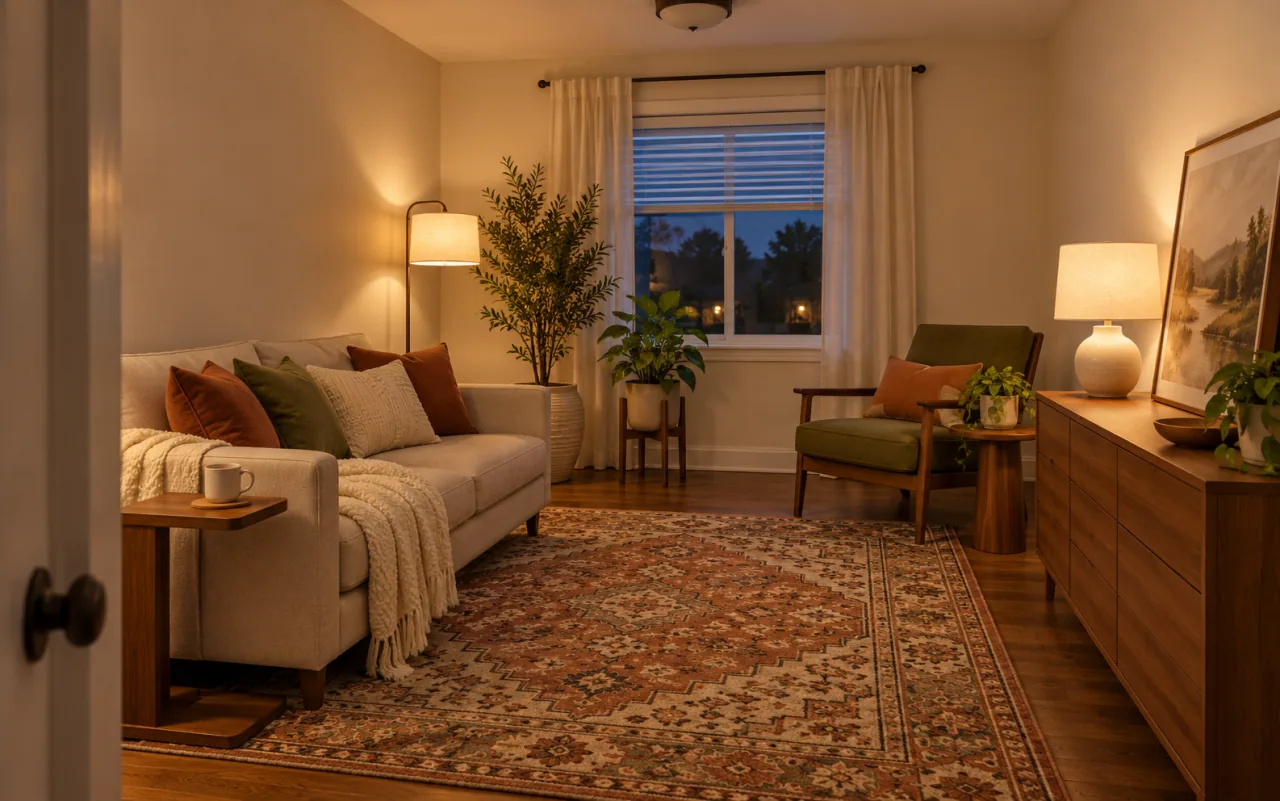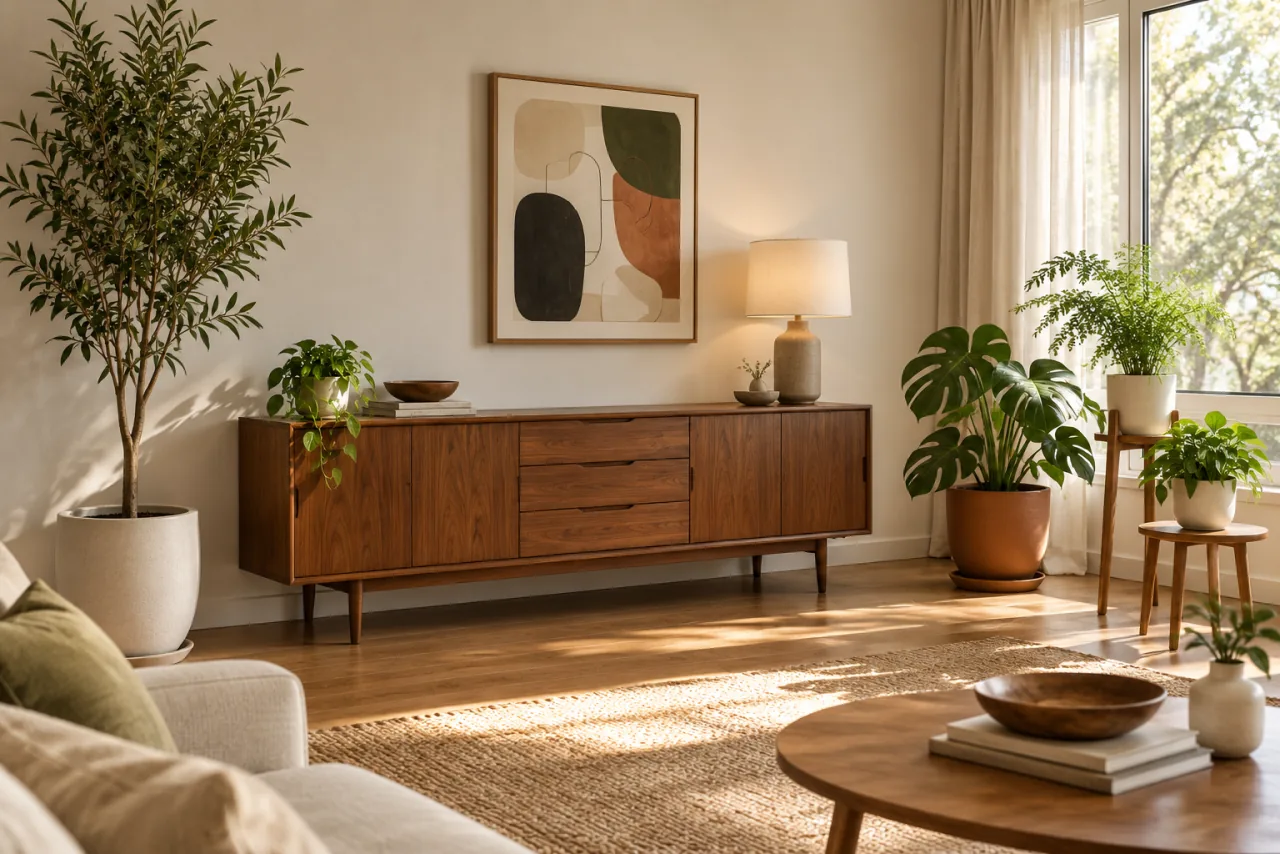
Warm wood and plants are a natural pair in a mid-century living room, but putting a few pots next to a walnut sideboard does not automatically make them work together. The furniture in this style is low, long and leggy; most plants grow up and out. When the two are arranged with intent, each makes the other look better. When they are not, you get a sideboard buried in leaves and a fern blocking the path to the sofa.
These ideas treat wood and plants as one composition. They cover how wood forms and plant heights play off each other, where daylight decides placement, how much empty space to leave, and how to keep the room easy to walk through. Most begin with plants and furniture you already have.
1. Answer Every Long Wood Line with an Upright Green
Mid-century furniture draws horizontal lines: a sideboard, a low coffee table, the flat top of a media cabinet. A room made only of horizontals feels squat. A plant with an upright habit, placed at one end of a long piece, adds the vertical that balances it.
Put the plant at the end, not the middle, so the wood line stays readable. A plant that rises to about twice the height of the piece, such as a 5-foot (1.5 m) plant beside a 30-inch (76 cm) sideboard, gives the clearest contrast.
Try it without buying: Move your tallest plant to one end of your longest low piece and compare it with the other end.
Watch out: Two identical plants at both ends look formal and stiff; one vertical plus a small accent at the other end feels more relaxed.
2. Layer Plants in Three Heights
Plants placed at a single height look like a row on a windowsill. Aim for three tiers: one floor plant around 4 to 6 feet (1.2 to 1.8 m), one mid-height plant around 2 to 3 feet (61 to 91 cm) on a stand or stool, and one tabletop plant under about 12 inches (30 cm).
The steps lead the eye from the floor up to eye level and back down to the furniture. They also let each plant sit at the height where its leaves show best.
Try it without buying: Line up every plant you own by height and assign one per tier; give extras to other rooms.
Watch out: Tiers that are too close in height, such as 2 feet and 2.5 feet, read as a cluttered row rather than steps.
3. Contrast Leaf Shapes with Wood Forms
Wood forms and plant shapes work best as opposites. Rounded wood, such as an oval coffee table or a curved chair back, looks sharper next to upright, strappy or sword-shaped leaves. Rectangular, slatted or straight-legged pieces soften beside round leaves, arching fronds or trailing stems.
This is why a boxy credenza with a fern beside it feels balanced: the plant supplies the curve the furniture lacks.
Try it without buying: Swap the plants on two surfaces so each sits beside the opposite shape.
Watch out: A plant with the same silhouette as the furniture next to it, such as a stiff upright plant beside a tall narrow cabinet, disappears into it.
4. Lift Mid-Height Plants on a Wood Stand
A plant stand with tapered or splayed legs repeats the furniture's leggy shape, so a plant on one reads as part of the room's furniture rather than an add-on. It also raises the leaves toward window light.
A stand around 12 to 24 inches (30 to 61 cm) tall suits most medium plants. Check that the top fits the pot's base with a saucer included, and that the stand is stable on your floor.
Try it without buying: Use a sturdy wooden stool or a stack of large books as a temporary stand to test the height.
Watch out: Tall, narrow stands tip easily when bumped; keep them out of high-traffic corners and away from pets that climb.
5. Map the Daylight Before Placing Any Plant
Practical daylight decides where plants can live, not where they look best on paper. Over one day, note which spots get direct sun, which get bright light without sun hitting them, and which stay dim. Light usually drops noticeably within a few feet of the window.
In much of the US, south- and west-facing windows get the strongest sun and north-facing windows the softest. Match each plant's care tag to a spot on your map, then let the wood furniture fill the dimmer areas.
Try it without buying: Take a photo of the room at morning, noon and late afternoon and mark the bright patches.
Watch out: Care tags for unknown or unlabeled plants are guesses; identify the plant before relying on care advice.
6. Frame Windows Instead of Blocking Them
A large plant set squarely in front of the glass cuts the daylight reaching the rest of the room, which dulls the wood grain. Place floor plants to the side of a window, where they still get light, and keep the center of the glass open.
Leave the sill mostly clear, or limit it to one small pot, so light can spill across the floor and furniture.
Try it without buying: Shift your largest plant from in front of the window to one side and compare how the wood looks in the afternoon.
Watch out: Leaves pressed against cold glass in winter or hot glass in summer can be damaged; leave a few inches of space.
7. Rotate and Trim to Keep Shapes Clean
Plants grow toward the light, so a plant near a window slowly leans and fills one side. Turning the pot a quarter turn every week or two keeps growth more even. Trimming stray stems keeps the silhouette crisp against the clean lines of wood furniture.
This routine also stops plants from spreading into walkways and over furniture tops.
Try it without buying: Mark one side of each pot with a small piece of tape and rotate to the next side each time you water.
Watch out: Some plants resent being moved often or pruned hard; check guidance for your specific plant before cutting.
8. Leave Space Between Focal Points
A sideboard, a large plant and a framed print are each focal points. Placed shoulder to shoulder, they compete. Give each a little negative space: roughly 18 to 24 inches (46 to 61 cm) of bare wall or floor between a large plant and the next major piece.
Bare space is what lets the eye rest and see the shape of the wood and the leaves.
Try it without buying: Stand in the doorway and slide one focal piece until a clear gap opens between each.
Watch out: Too much space between pieces can feel disconnected; if a gap looks accidental, a low element such as a basket or a stool can bridge it.
9. Cluster Plants in One or Two Places
Spreading single pots on every surface makes the room look busy and makes watering a chore. Grouping three or more plants of different heights in one corner creates one strong focal point and leaves the rest of the room calm.
A group of three plants in tiers, with one wood piece nearby, is usually enough for a mid-size room. A second, smaller group can balance it on the opposite side.
Try it without buying: Gather every plant into one corner, then return only one or two to other spots.
Watch out: A tight cluster with poor airflow can make pest problems spread; leave a little space between pots.
10. Measure Each Plant's Spread Along Walkways
Furniture circulation depends on the full width of a plant, not just its pot. A floor plant in a 12-inch (30 cm) pot can spread 3 feet (91 cm) or more at shoulder height. Keep main walkways about 30 to 36 inches (76 to 91 cm) wide, measured from leaf tip to furniture.
Place wide, arching plants in corners and against walls; save narrow, upright shapes for spots near paths.
Try it without buying: Walk through the room carrying a laundry basket and note every leaf you brush.
Watch out: Plants at a door's swing path get knocked and bruised; keep them clear of the arc.
11. Send Trailing Plants Up High
Trailing plants on top of a bookcase or a high shelf soften hard wood edges and add green at eye level without taking floor space. Their stems fall in a curve that contrasts with the straight lines of the case.
Keep stems to about one-third of the shelf height so they frame the wood rather than cover it.
Try it without buying: Move a trailing plant from a low table to the top of the tallest wood piece you own.
Watch out: High plants are easy to forget and hard to water without drips; check the soil often and use a saucer.
12. Choose Pots That Echo Mid-Century Shapes
Pots carry as much style as the plants in them. Matte ceramic in cream, rust or soft earth tones suits warm wood, and simple cylinders, tapered bowls or pots on small legs echo mid-century furniture lines.
Stick to one or two pot finishes across the room so the plants read as a set. A pot about one-third of the plant's total height usually looks balanced.
Try it without buying: Gather every pot you own, keep the two finishes that look best with your wood, and move the rest to other rooms.
Watch out: Decorative pots without drainage holes need a nursery pot inside and must be emptied of standing water.
13. Protect Wood Finishes Under Every Pot
Water and wood do not mix. Condensation under a pot or overflow from a saucer can leave white rings or warp a finish over time. Use a saucer under every pot on wood, and add a cork mat, small riser or felt pad underneath so air can circulate.
Try it without buying: Lift each pot on wood and check the surface underneath for damp spots or rings.
Watch out: Saucers that look dry can still sweat underneath; check after watering, especially on sideboards and coffee tables.
Wood Forms and Plant Heights: A Checklist
- Put an upright plant at one end of each long, low wood piece.
- Layer plants in three distinct heights: floor, mid and tabletop.
- Pair rounded wood with upright leaves and straight wood with soft shapes.
- Use a stand on tapered legs to raise mid-height plants toward light.
- Map daylight and match each plant to a spot it can actually live in.
- Keep floor plants beside windows, not in front of them.
- Leave about 18 to 24 inches between focal points.
- Cluster plants in one or two places instead of every surface.
- Keep walkways about 30 to 36 inches clear, measured to leaf tips.
- Use saucers and risers under every pot that sits on wood.
Common Questions
What plants suit a mid-century living room?
Plants with clear, graphic shapes work well: upright, broad-leaved or trailing. Choose for the light you have, follow the care tag, and check the ASPCA's plant list if you have pets.
How many plants should a living room have?
There is no fixed number. One to three groups with three plants each usually look full without overwhelming the furniture.
Will plants damage wood furniture?
They can if water sits on the finish. Use saucers, risers or cork mats and check under pots after watering.
Can I use faux plants in this style?
Yes, especially in spots without enough light. Choose shapes that look natural and dust them regularly so they read as real.