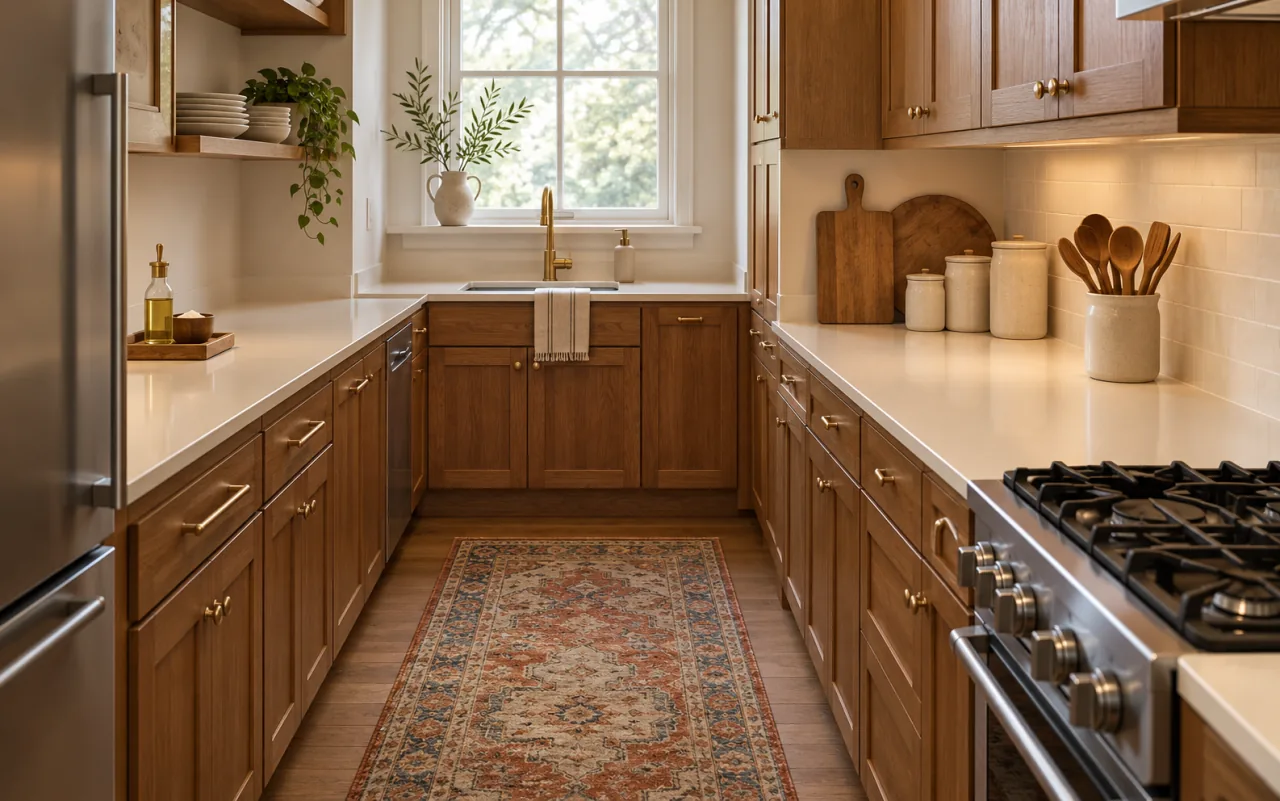
Styled counters look calm in photos, but a kitchen counter has a day job: it is where you chop, roll, rest hot pans and stack dishes. When decor takes over that space, you end up cutting vegetables on a sliver of stone between a canister and the toaster.
The ideas below start with the work and add style second. You will map out a real prep zone, group the things you reach for by task, keep safe distances around the stove and sink, and then give yourself one small spot for something purely pretty. Most of the changes are about moving what you already own. Where a tray, crock or canister helps, the goal is fewer loose objects, not more things on display.
1. Mark Out a Clear Prep Zone Before Anything Else
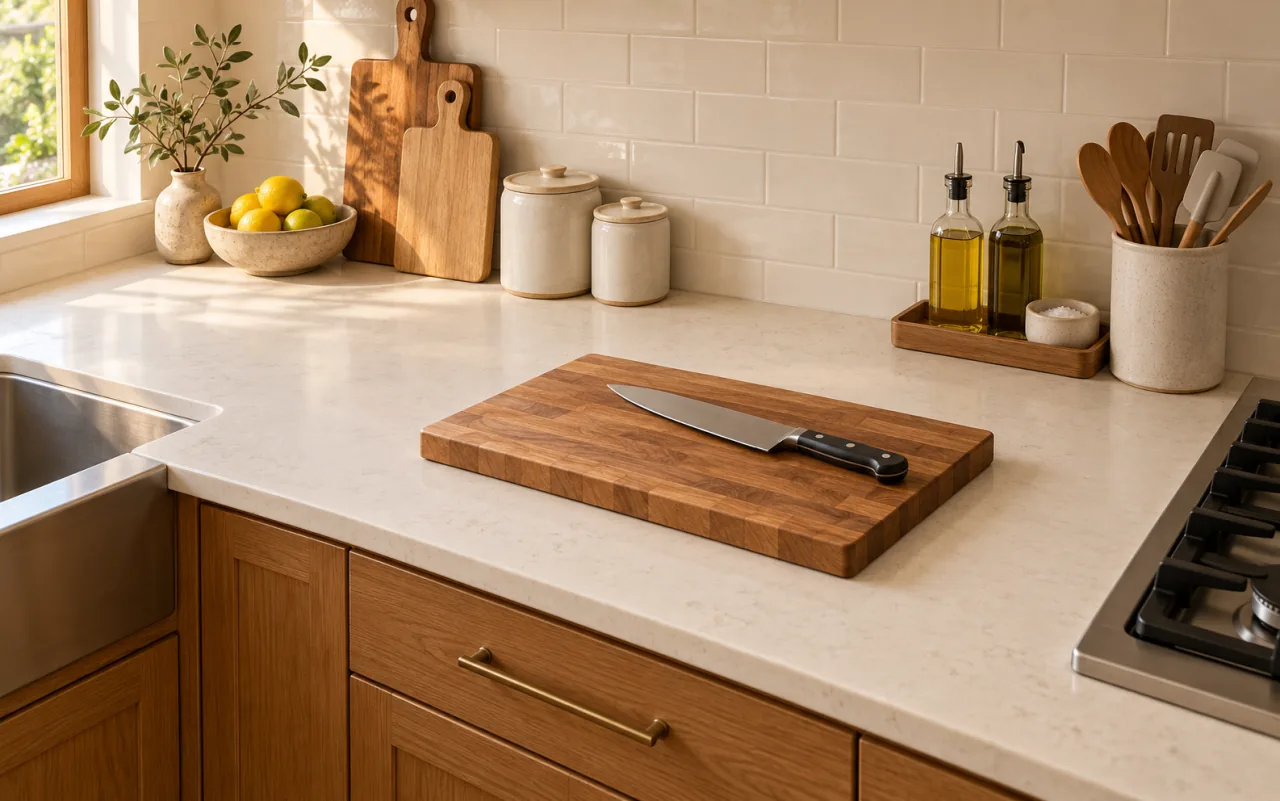
Find the stretch of counter where you actually chop and mix, usually between the sink and the stove, and treat it as off-limits for storage. A common planning guideline is a clear area about 36 inches wide and 24 inches deep (about 91 by 61 cm). That fits a large cutting board with room for a bowl beside it.
Everything else on the counter gets placed around this zone, not in it. If the counter is short, the prep zone wins over display every time.
Try it without buying: Lay a large cutting board where you prep and clear everything within a forearm's length of it for one week.
Watch out: A prep zone in a dark corner gets abandoned; pick the spot with the best light.
2. Keep Only What You Use Every Day
The fastest way to leave room to cook is an honest test of frequency. For one week, notice which items you touch daily. Those can stay out. Weekly items go into the nearest cabinet, and anything used monthly or less moves to a higher shelf or another room.
Counter clutter rarely comes from decor; it comes from the mixer used twice a year.
Try it without buying: Put a sticky note on each countertop item and remove the note when you use it; whatever still has a note after a week moves off the counter.
Watch out: Do not hide daily items so well that you leave them out again by Wednesday.
3. Group Essentials by Task, Not by Type
Useful counter groupings follow a job. Cooking oil, salt, pepper and the utensil crock belong together beside the stove. Knives, a cutting board and a small compost bowl belong near the prep zone. Mugs and the kettle belong together near an outlet.
Grouping by task means one reach instead of three trips, and each cluster reads as one object rather than scattered pieces.
Try it without buying: Cook one regular weeknight meal and note which items you grab together; rearrange them into that cluster.
Watch out: Keep each group to about three to five items, or it becomes a pile with a theme.
4. Corral Small Bottles on a Tray
A tray turns loose bottles into a single unit you can lift in one move to wipe the counter. For oils and salt cellars by the stove, a tray around 12 by 16 inches (30 by 40 cm) usually holds four or five pieces without crowding the backsplash.
Choose a lip high enough to catch drips, and a surface that wipes clean, such as sealed wood, glazed ceramic or metal.
Try it without buying: Use a sheet pan, a large plate or a cutting board as a test tray for a few days.
Watch out: A tray that is deeper than your counter allows will push into the prep zone; measure from the backsplash forward first.
5. Edit the Utensil Crock Near the Stove
One crock within arm's reach of the cooktop beats a drawer you have to dig through mid-stir. A container about 5 to 6 inches (13 to 15 cm) across holds roughly eight to ten tools: a spatula, wooden spoons, tongs, a whisk, a ladle and a slotted spoon.
Weight matters, because a heavy ceramic or stone base will not tip when you pull out a long ladle.
Try it without buying: Pull every utensil out, put back only the ones used this week, and store the rest in a drawer.
Watch out: A crock packed so tightly that tools stick together defeats the purpose.
6. Respect Heat Clearance Around the Cooktop
Burners, oven vents and toaster slots get hot, and the items styled beside them often burn or melt: wooden boards, paper towels, cookbooks, plastic canisters and cloth towels. Keep these well back from burner edges; many cooks keep a gap of roughly a foot (30 cm) as a rule of thumb, but the range manual is the reference for your model.
NKBA planning guidance recommends at least 12 inches (30 cm) of landing area on one side of a cooking surface and 15 inches (38 cm) on the other; follow local requirements and the appliance manual too.
Try it without buying: Move anything flammable away from the stove and into a group by the prep zone.
Watch out: Do not store items on the cooktop or the back ledge of the range, even when it is off.
7. Give Small Appliances Breathing Room
Toasters, air fryers, kettles and coffee makers release heat or steam. Their manuals typically specify clearance on the sides and above, and many say not to run them tucked under upper cabinets, where steam can damage finishes over time.
Park each appliance near its outlet with its cord short and clear of the sink. Slide it forward to use and back afterward.
Try it without buying: Check the manual for your most-used appliance and move it to a spot that meets the stated clearance.
Watch out: Keep more than one or two appliances out and the prep zone shrinks fast; store the rest in a cabinet.
8. Keep Distance Around the Sink
The counter beside the sink is a landing area for dirty dishes and a drying area for clean ones. Planning guides often suggest about 18 to 24 inches (46 to 61 cm) of clear counter on at least one side.
Decor near the faucet also gets splashed. Unsealed wood, paper labels, fabric and cookbooks warp or stain there, so keep them a few feet away and limit the sink edge to what you use with water.
Try it without buying: Run the faucet at full pressure and watch how far the splashes reach, then clear that zone.
Watch out: A permanent dish rack can quietly eat your prep space; fold or store it when it is empty.
9. Push Storage to the Back and into Corners
Counters are usually about 25 inches (64 cm) deep, and the front 15 inches or so is where work happens. Keep anything that lives on the counter against the backsplash and let the front edge stay clear.
Inside corners are awkward to prep in because you cannot stand square to them. That makes them the right home for canisters, an appliance or a fruit bowl.
Try it without buying: Slide every item back until it touches the backsplash, then move the tallest pieces into the corner.
Watch out: Do not block outlets in corners you need for appliances; leave plugs reachable.
10. Size Canisters to Your Cabinets and Your Habits
Canisters earn their space only for food you refill and use often, such as coffee, oats, flour or sugar. Upper cabinets are commonly about 18 inches (46 cm) above the counter, so tall canisters can leave little room to lift a lid. Measure the gap and allow a few inches of clearance.
A set of two or three canisters in matching material looks calmer than a mix of plastic bags, and it frees you from scanning a cabinet for open packages.
Try it without buying: Line up glass jars you already have and decant your two most-used dry goods.
Watch out: Check whether a lid is airtight before using it for flour or coffee, and label anything that looks alike.
11. Lean Cutting Boards Against the Backsplash
Practical counter decor is decor you also use. Two or three wooden boards, leaned upright against the backsplash, add warm wood and texture while staying in reach for prep. Layer them from largest at the back to smallest in front.
They work best behind the utensil crock or beside canisters, outside the splash and heat zones.
Try it without buying: Pull your boards out of the cabinet and lean them in a corner by size.
Watch out: Wood boards need to dry fully after washing before you lean them back; trapped moisture can lead to warping or odor. Keep them away from the burners.
12. Create One Small Focal Zone
A kitchen counter needs only one purely decorative moment. Choose a spot at the end of a run, on the corner of an island or beside a window, about 12 by 12 inches (30 by 30 cm). Style a grouping of three: something tall, such as a small vase of stems; something medium, such as a bowl; and something low, such as a dish.
Keeping decoration to one zone makes it noticeable instead of buried among bottles.
Try it without buying: Use a fruit bowl, a jar with cut branches from outside and a small dish from another room.
Watch out: Real flowers near the stove wilt fast; place the focal zone away from heat.
13. Choose Countertop Pieces That Wipe Clean
Everything on a counter collects a film of grease and steam. Glazed ceramic, glass, sealed wood and metal wipe clean with a damp cloth; unglazed pottery, raw wood and woven fiber hold grease and are harder to clean.
This matters most near the stove and sink, and less in a dry corner with your focal grouping.
Try it without buying: Wipe down every object on your counter this week; whatever stays sticky is better stored in a cabinet.
Watch out: Do not assume a container is food-safe because it looks like one; check the label before storing food directly in it.
Leave Room to Cook: Counter Checklist
- Mark out a prep zone about 36 by 24 inches and keep it bare.
- Keep only daily-use items out; move weekly items to the nearest cabinet.
- Group items by task: by the stove, by the prep zone, by an outlet.
- Corral bottles on a tray you can lift in one move.
- Keep wood, paper, plastic and cloth well away from burners and follow the range manual.
- Leave a bare landing spot beside the cooktop and about 18 inches or more beside the sink.
- Check appliance manuals for clearance and avoid running them under cabinets.
- Push storage to the back and into inside corners.
- Style only one small focal zone.
- Choose pieces that wipe clean, especially near heat and water.
Common Questions
What should stay on the kitchen counter?
Items you use daily, grouped by task: a utensil crock, oil and salt near the stove, a knife and cutting board near the prep zone, and one or two appliances you use every day. Everything else can go in a cabinet.
How do I make kitchen counters look nice without clutter?
Group items by task, put small bottles on a tray and keep decoration to one small focal zone.
How much clear counter space do I need to cook?
A common guideline is about 36 inches wide and 24 inches deep for prep, plus a landing area beside the sink and a bare spot beside the cooktop. In a small kitchen, aim for the longest uninterrupted stretch you can keep bare, even if it is only 24 inches (61 cm) wide.
Is it OK to keep a wooden cutting board next to the stove?
Keep it back from the burners; heat can scorch or warp wood. Lean it against the backsplash on the far side of the crock, and follow your range manual for clearance.